The Shop Office Renovation Timeline
"A true dream office is coming to life."
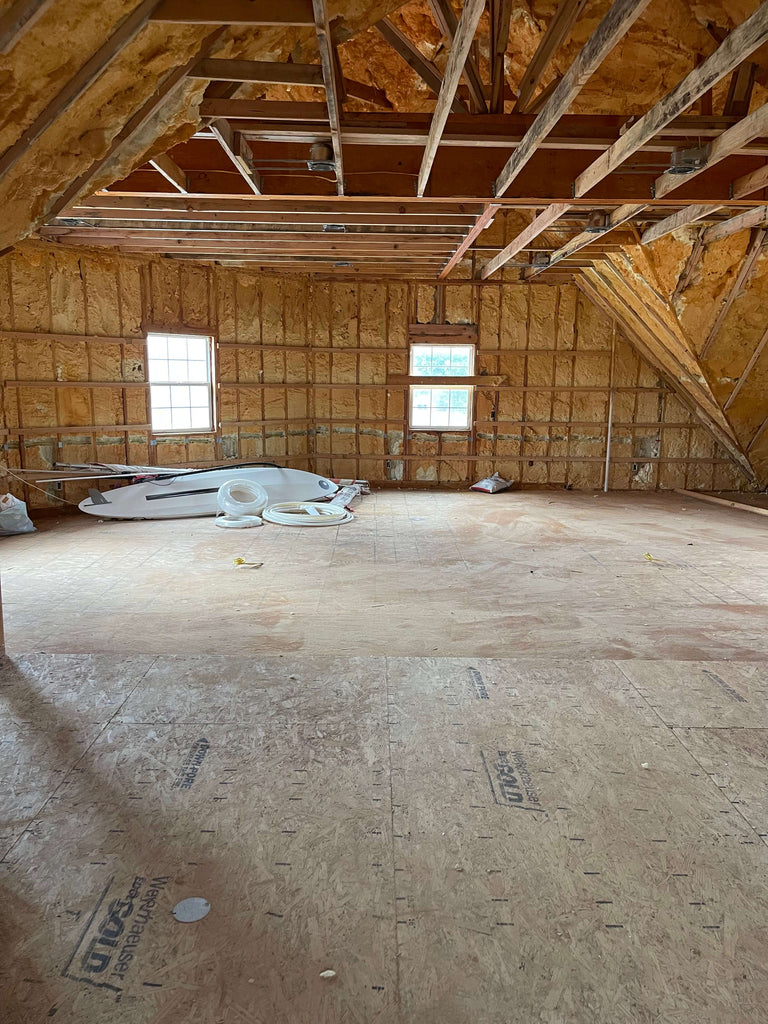
Before I ever saw the lake house, I always dreamed of having a dedicated space to do my business duties, so naturally when I saw the house, I fell in love when I saw the shop.
The only downfall is, it needs a lot of work to get it to where it needs to be, but the fun part is, I get to turn it into the exact space I want. Let's take a look at the shop as I found it!

Check out the timeline below to see how I am bringing this shop transformation to life!
Step 1: Epoxy Floors
The first thing I did before I could even move in good was epoxy the floors. I had it done in my last garage and absolutely loved it. The floors are super durable and in my opinion a great investment.
See the full tutorial here for all of the details!

Step 2: Installing HVAC
Now, with making a dream shop, HVAC is a must. I knew I wanted heating and air in the shop, so I decided to use Integrity Heat and Air to install mini splits. I decided to go with a ductless unit because it required a lot less work.

Here is what I had installed:
(2) MWMB030S4-1P (indoor unit), MPB030S4S-1P(outdoor unit), remote control, copper line set, communication wiring, condensate drain, outdoor unit pad all for a whopping $11,850.00.

Lennox MPB/MLA mini-split heat pumps offer an easy, secure installation—especially compared to window units that can leave your home vulnerable to insects, weather elements and theft. Therefore, whether you’re utilizing
ductwork or not, Lennox provides solutions for any room, any time of year.
Now I do want to mention that did not include my electrician providing (2) 208/230v 30 AMP disconnects at the outdoor unit locations, that was an additional $650.
Step 3: Framing the Shop

Step 4: Running the Electrical
Step 5: Drywall