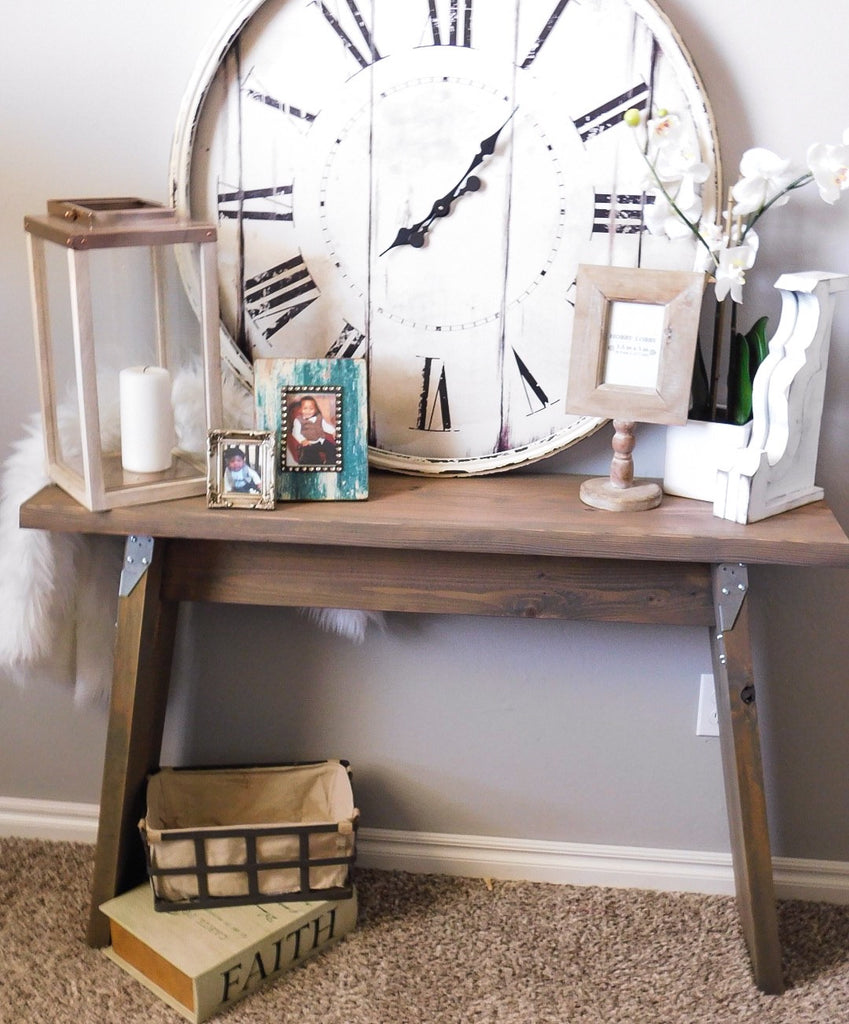
Industrial Console Table
This was a totally unexpected build, but I just love how it turned out! I had some left over boards from a project and saw a similar console on Pinterest and just had to re-enact it. Luckily it only took me about 30 min. to build. Doesn't get any better than that! Perfect for the beginner DIYer.
(There are some affiliate links in this post, meaning I get a small commission if you purchase through these links, at no cost to you. Click Here to read my full disclosure)
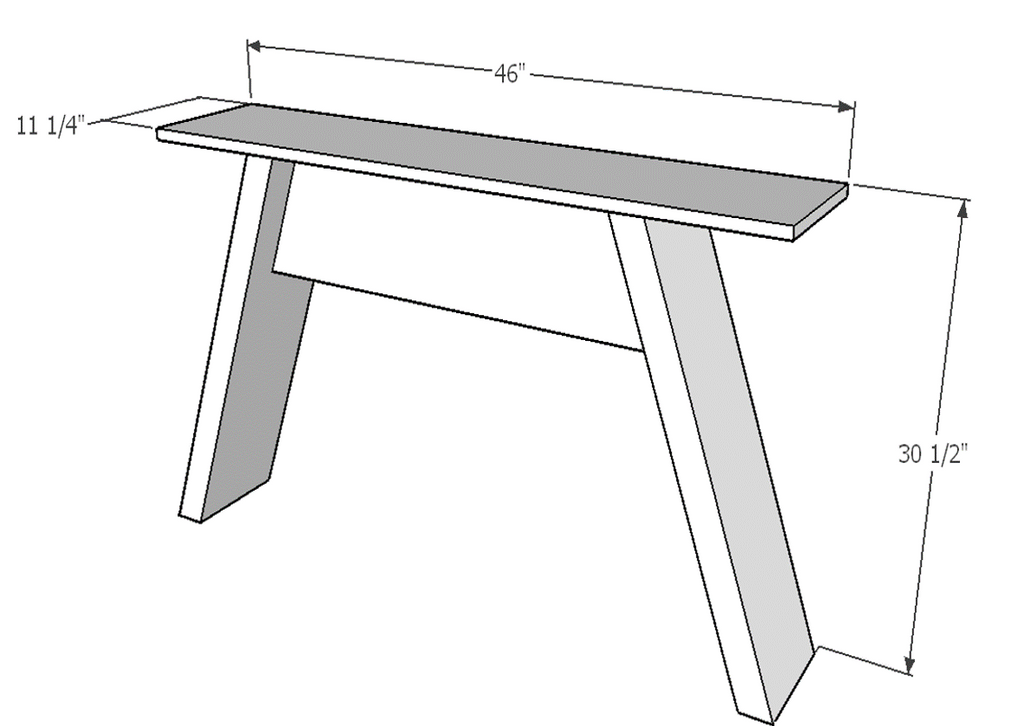
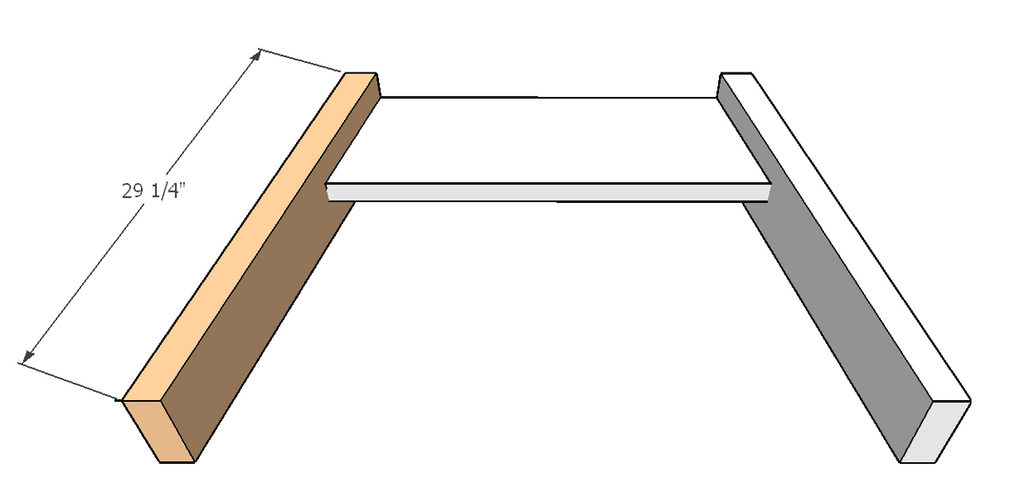
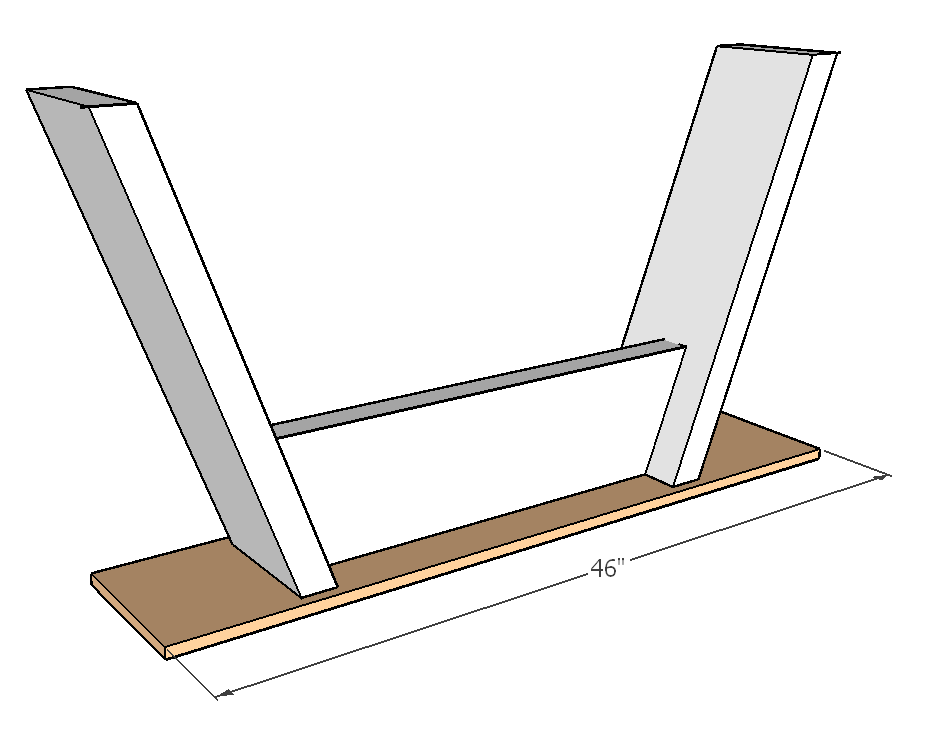
Dimensions
Materials List
1 - 2x10 @ 8ft
1- 2x6 @ 8ft
1- 2x12 @ 10ft
Cut List
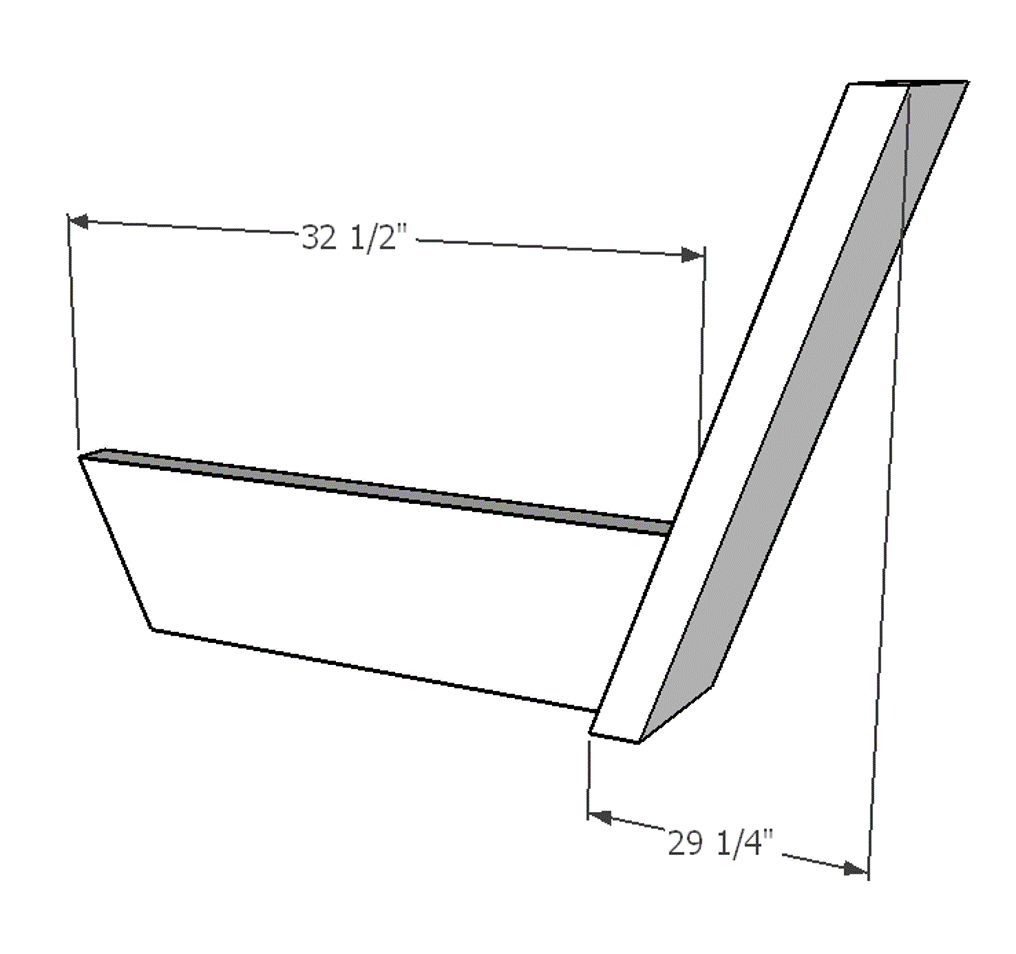
2 - 2x10 @ 29 1/4" (10" angle on both sides) cut like a rhombus
1 - 2x6 @ 32 1/2" (10" angle on both sides) cut like a trapezoid
1 - 2x12 @ 46" (10" angle on both sides) cut like a trapezoid
Tools Used:
Kreg Jig K4 Pocket Hole System
Ryobi 18V Brushless Hammer Drill
Ryobi 15-Amp 10 in. Sliding Miter Saw
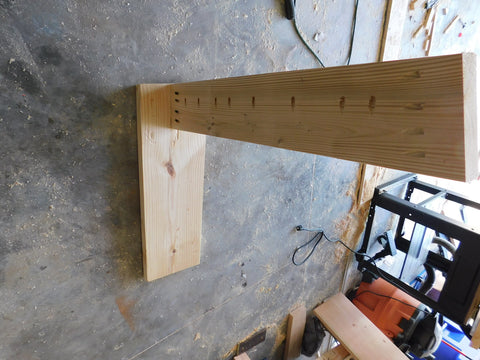
Step 1: Attach the middle 2x6 brace (32 1/2") to the side 2x10 (29 1/4") leg using a Kreg Jig K4 Pocket Hole System on a 1 1/2" setting, with 2 1/2" pocket hole screws to attach along with wood glue. The 2x6 should be flush with the top of the side leg and inset 3 3/4" from the front.
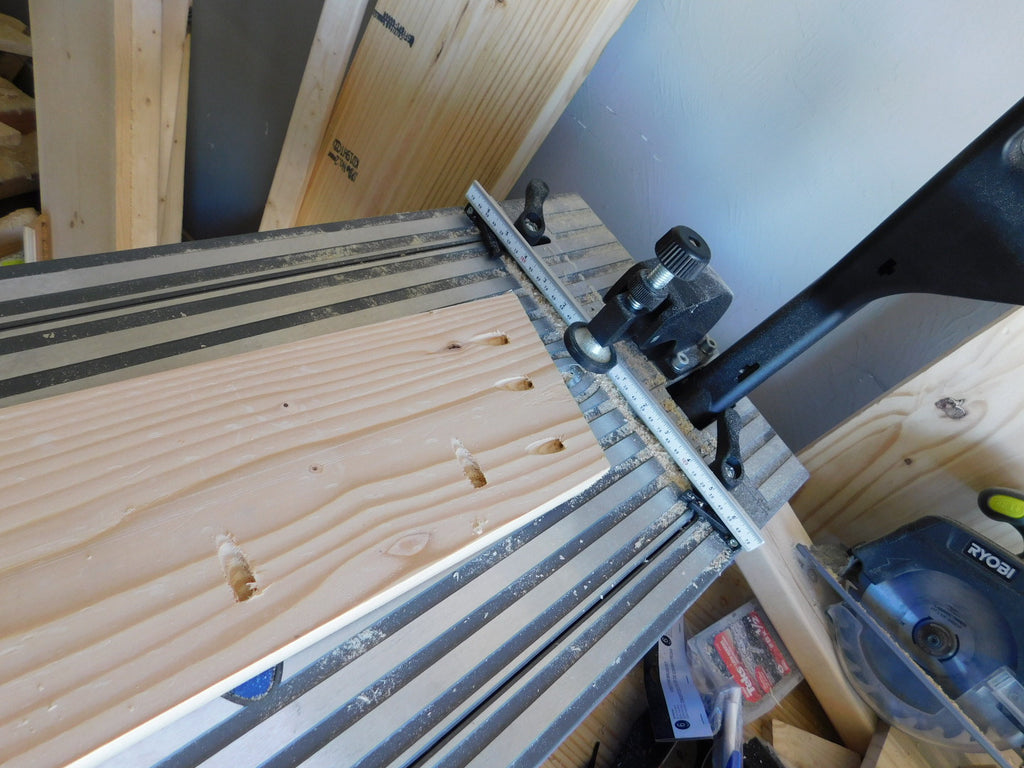
I used my Ryobi 15 Amp 12 in. Sliding Miter Saw with Laser to cut the middle 2x6 brace which will be cut at an angle of 10 degrees using the bottom miter scale. The side 2x10 leg will be cut at an angle of 10 degrees by tilting the blade to the desired angle.

 After cutting the wood I used my Kreg 3/4 HP Electric Foreman Pocket Hole Machine to make Kreg Holes in my 2x6 and 2x10 board. I put the fence setting in between 3/4" and 1 1/2". I'm not sure how that translates using a regular K4 machine, but I would think that using a 1 1/2" setting would be fine, but again I'm not sure.
I screwed 4 holes on the sides and 8 on the top for attaching the top later. I also put one pocket hole on the two side legs in the back for securing the top. (Picture Below)
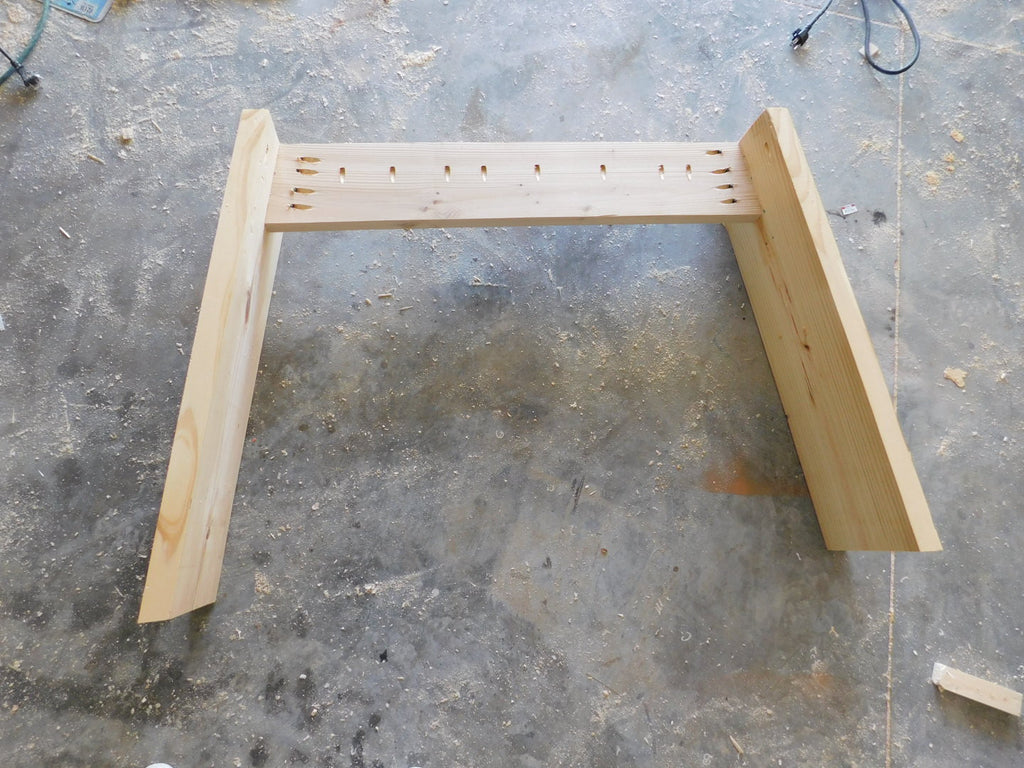
Step 2: Attach the other side 2x10 (29 1/4") leg using a Kreg Jig K4 Pocket Hole System on a 1 1/2" setting, with 2 1/2" pocket hole screws to attach along with wood glue. The 2x6 should be flush with the top of the side leg and inset 3 3/4" from the front.
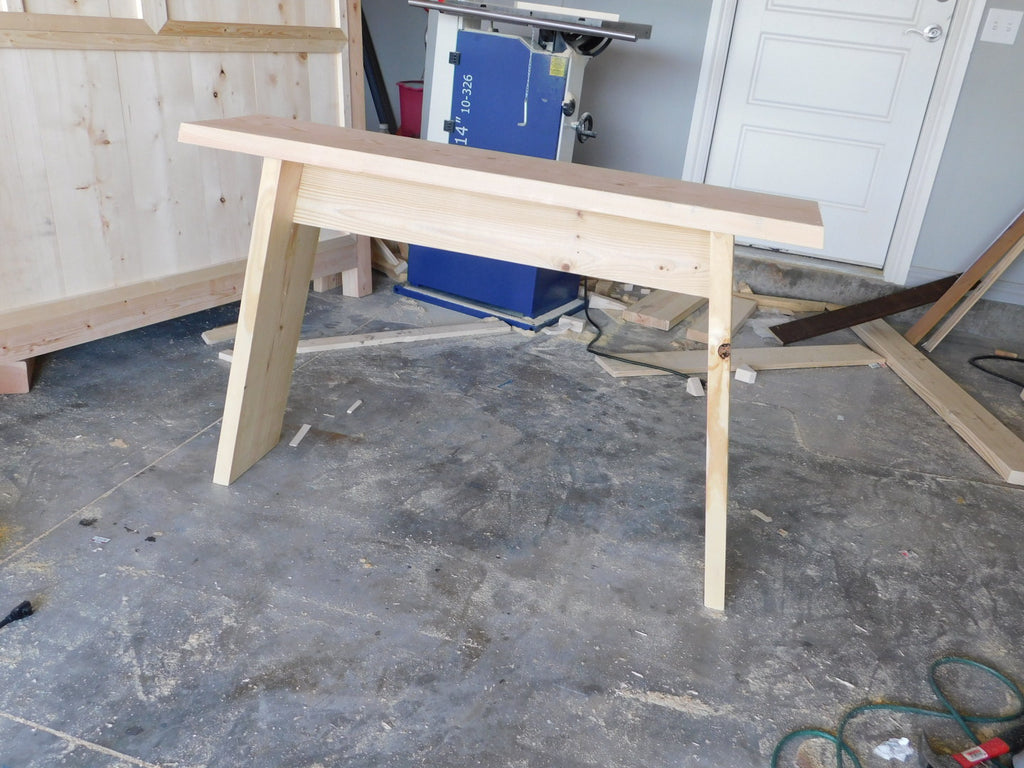
Step 3: Attach the console table top 2x12 (46") using the pre-drilled pocket holes and 2 1/2" pocket hole screws to attach along with wood glue. I placed my top so that it hangs 1 1/2" from the base. Table top angles will be cut by the tilting the blade.

and ladies and gentlemen! Your done! Time for a finish and some hardware.
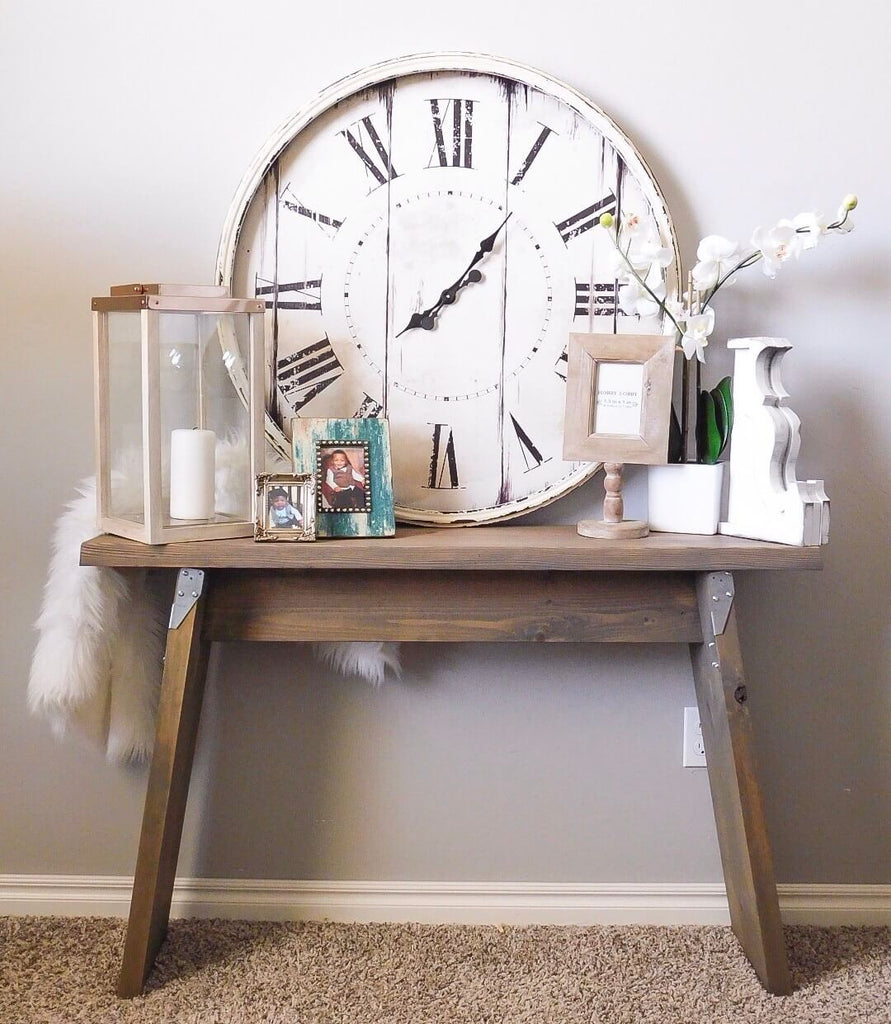
I have been seeing a couple people use Rust-Oleum's Varathane 1 qt. 3X Briarsmoke Premium Wood Stain and I have been dying to get my hands on it! I really love this color.
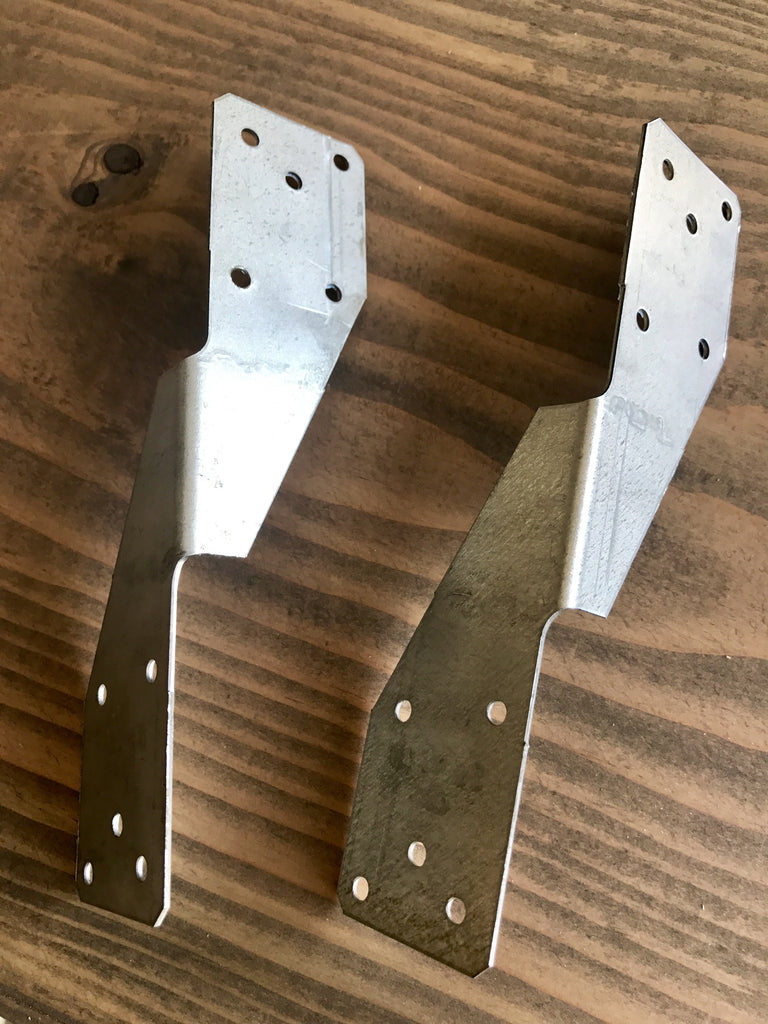
Once I finished staining the console I added these industrial pieces I had laying around, I believe I got them from Lowes. Be creative!
Lets check it out again!