DIY Vanity Desk
"This DIY Vanity Desk will make you reconsider all of your other makeup vanity tables."
If you are looking for a solution for your messy makeup problems , man do I have a solution for you. I am a lover of all things makeup, so I wanted to create something that was both stylish and functional, luckily I succeeded at creating this fun DIY Makeup Vanity Desk.
“This post is sponsored by Build Something”
Even better news, I am partnering up with Build Something, Kreg's plan site, to bring you the free plans so you can recreate this unique vanity desk yourself. If you are a little intimidated about this build, don't be, I've got you covered with the step by step instructions.
There are some affiliate links in this post, meaning I get a small commission if you purchase through these links, at no cost to you. Click Here to read my full disclosure.

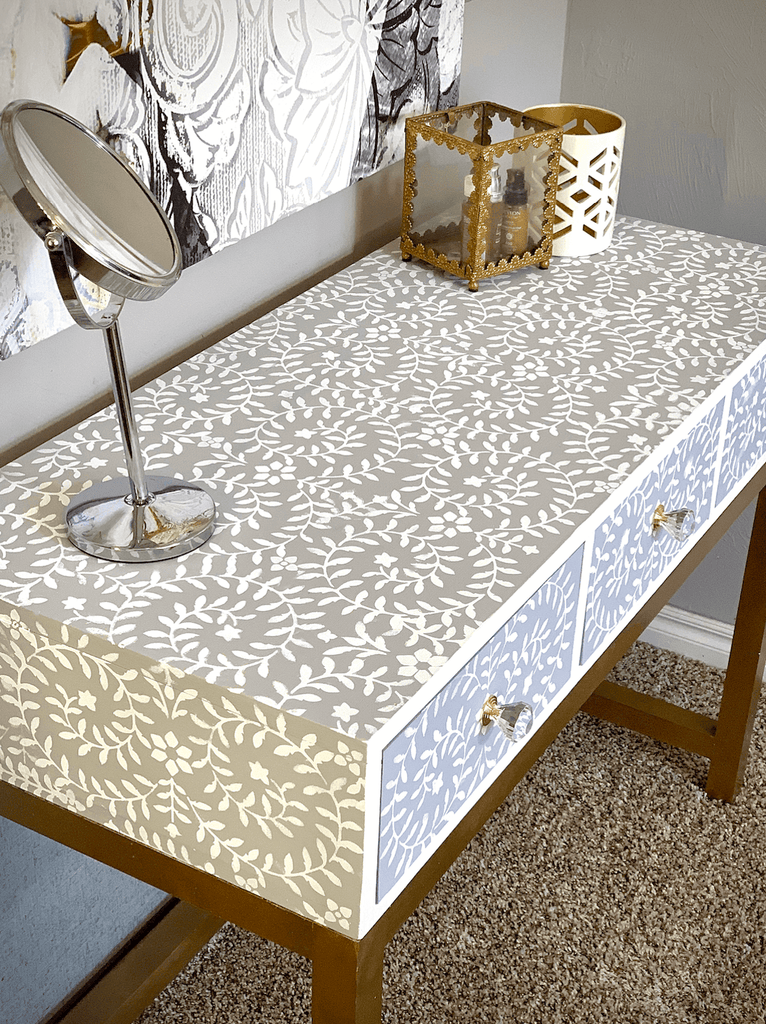
But first we must give recognition to this stenciled paint job. I am super proud about pulling this design off. I've seen a few makeup vanities in my day but not one that looks quite like this. I am sharing all of the details below on how I pulled this look off, so keep reading for all of the details.
Now let's get into it!
Dimensions
Materiels
- 5 - 2x2x6
- 1 - 3/4" piece of plywood
- 2 - 1x6x6
- Priya Bone Stencil
- Chalk Paint - White
- Chalk Paint - Grey
- Chalked Clear Coat
- Gold Spray Paint
- Door Knobs
- Drawer Slides
- 2 1/2" Pocket Hole Screws
- 1 1/4" Pocket Hole Screws
Tools Used
Step 1: Assemble the Vanity Desk Top
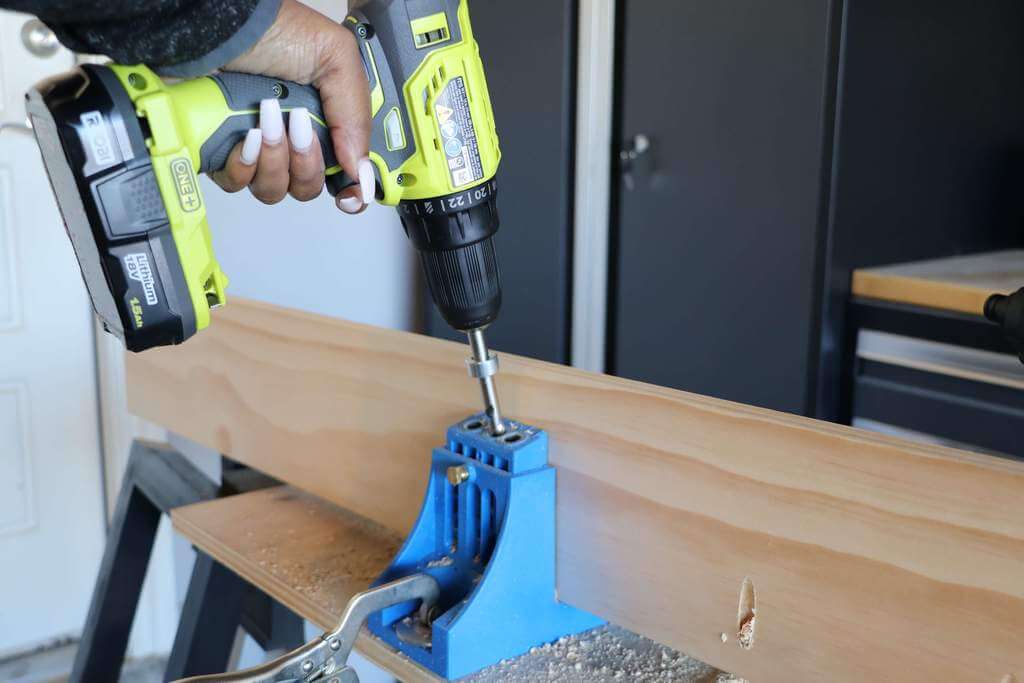
I first started off with creating the top for the makeup vanity desk. I used my Kreg Jig throughout this process to create pocket holes to be able to join my boards together. For the top, you will need to set your Kreg Jig on a 3/4" setting and use 1 1/4" pocket holes screws.
 After I created the pocket holes, I attached the 1x6 back board to the back of the bottom table top with the pocket holes facing forward. The back board should be flush with the end of the bottom desk board.
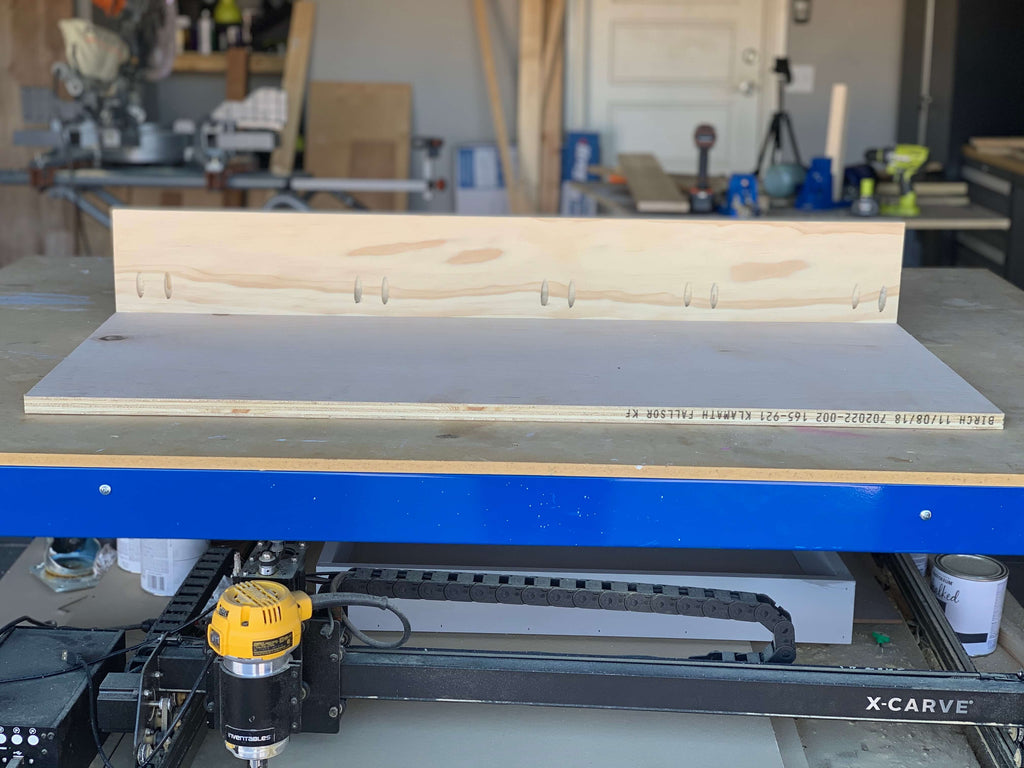
After, attaching the back 1x6, I attached the two side 1x6s, and the two middle 1x6s using pocket hole screws.
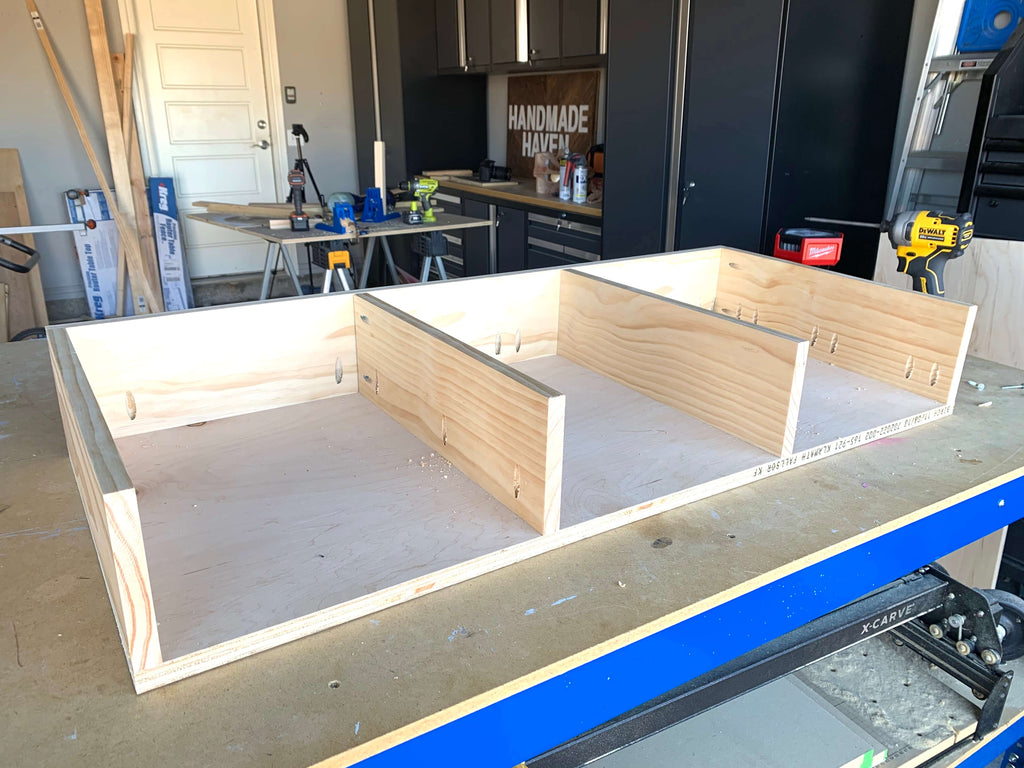 I then cut the top board down to size, but I waited to attach this later to make it easier to attach the drawer slides to the inside of the desk.
Step 2: Assemble the DIY Vanity Base
Once I had the top assembled, I started working on the base. I used 2x2s to create the desk base. I used my Kreg Jig to create pocket holes to join the boards together, but for the base I had to set my jig on a 1 1/2" setting. I used 2 1/2" pocket hole screws to join the boards together.
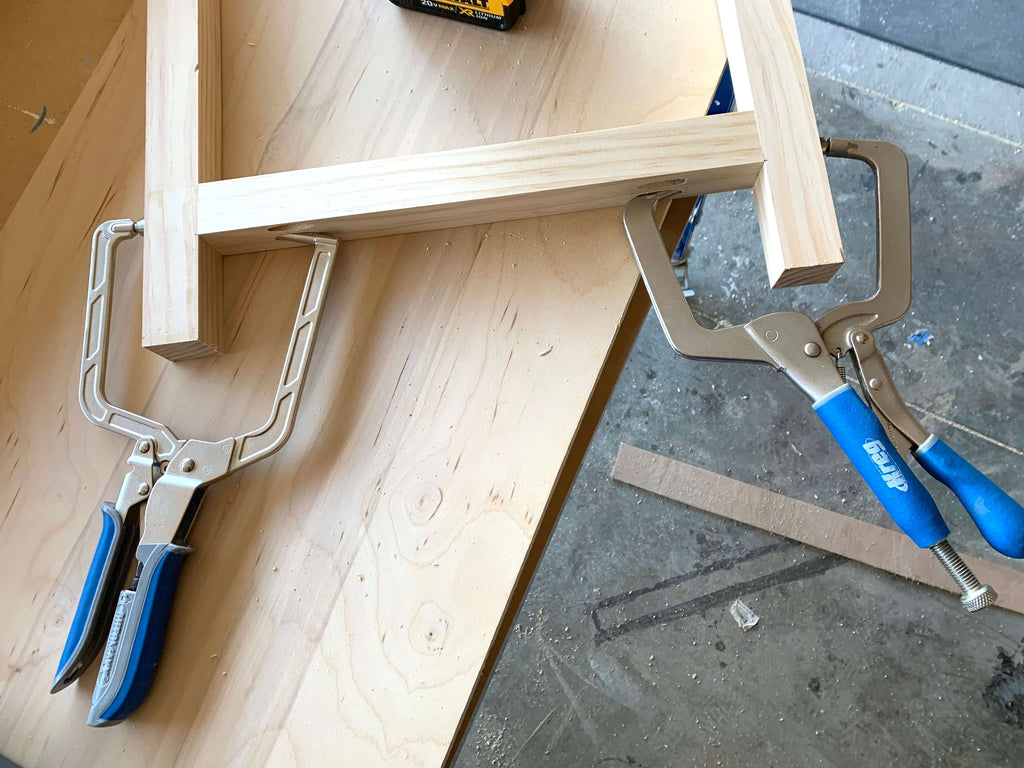 I used my two right angle clamps to hold the boards together, so I could drive in the pocket hole screws. These clamps really come in handy when you are working alone. Your two desk sides should look a little something like the picture below.
 Once I assembled the two desk sides, I was able to start forming the vanity desk base. I also used my Kreg right angle clamps here to hold the boards in place while I drove in pocket hole screws
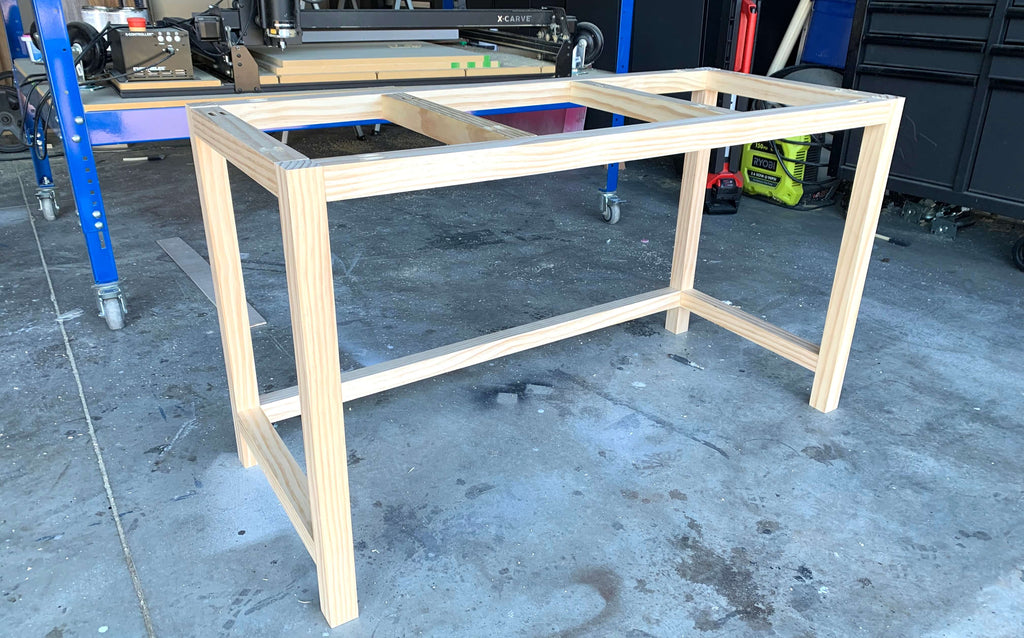 I made sure to face the pocket holes up for the 2x2s on the top, so they would be hidden by the desk top and I faced the pocket holes down on the 2x2s at the bottom part of the desk base.
Step 3: Add Drawer Slides
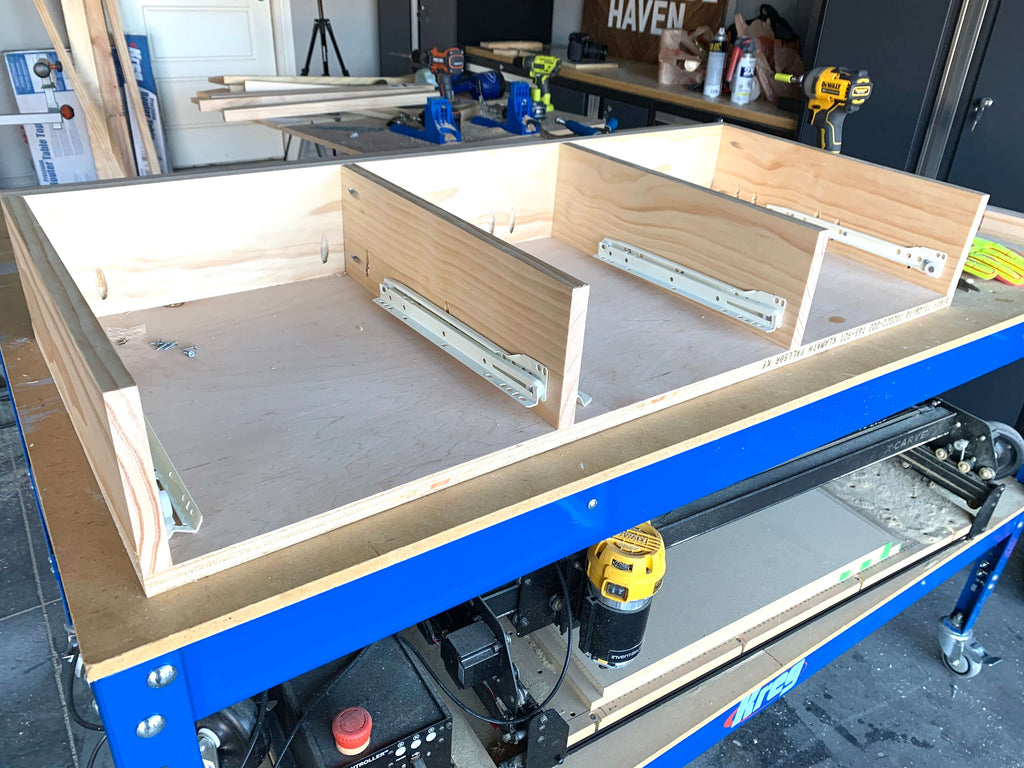
If you are someone who is intimidated by drawer slides, don't be. This step is fairly easy and you should be able to get through this step in no time with the free plans on Build Something. I first started off by adding the drawer slides in between sections.
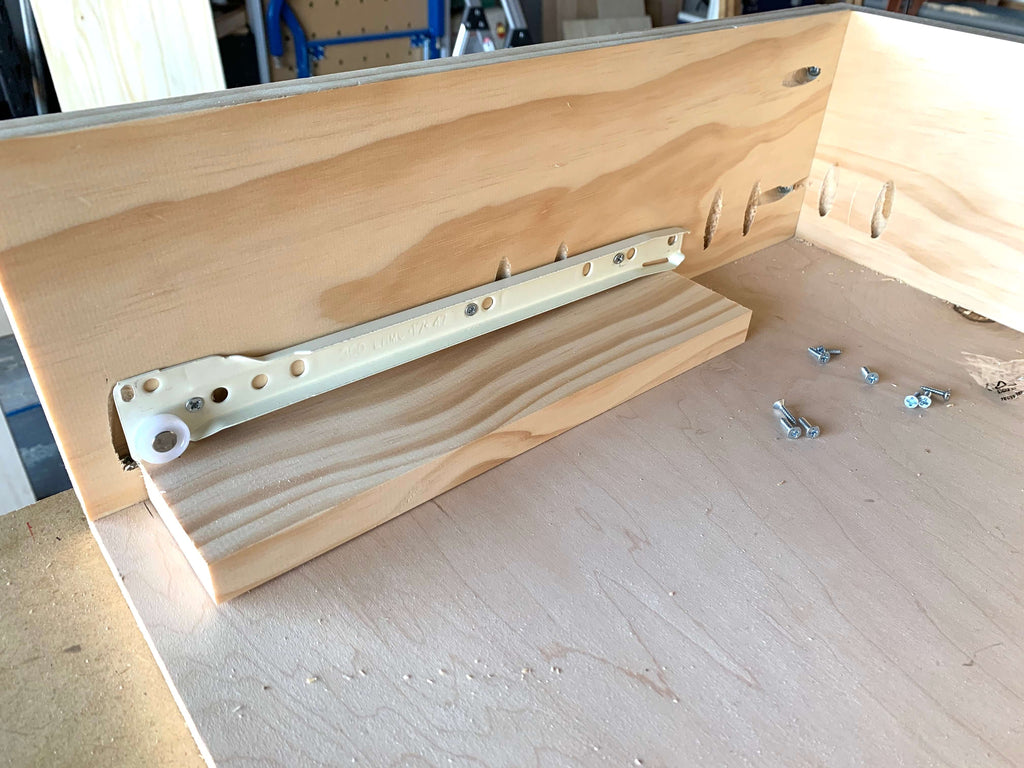 The first thing I did was inset the drawer slide back 3/4" to account for the drawer face. I marked that line and placed a scrap 1x3 under the drawer slides. The drawer slide will be marked with a L or R, so you will know which slide goes on which side.
Then I sat the drawer slide on top of the 1x3 and then used three screws to screw it into the topside. Just that simple. I then repeated the same steps for the remaining desk sides.
Step 4: Assemble Drawers
Once the drawer slides were in, I began building the drawers. I used 1x3 boards and a 1/4" piece of plywood to build them. I first built the main frame of the drawer using my Kreg Right angle clamp and pocket hole screws.
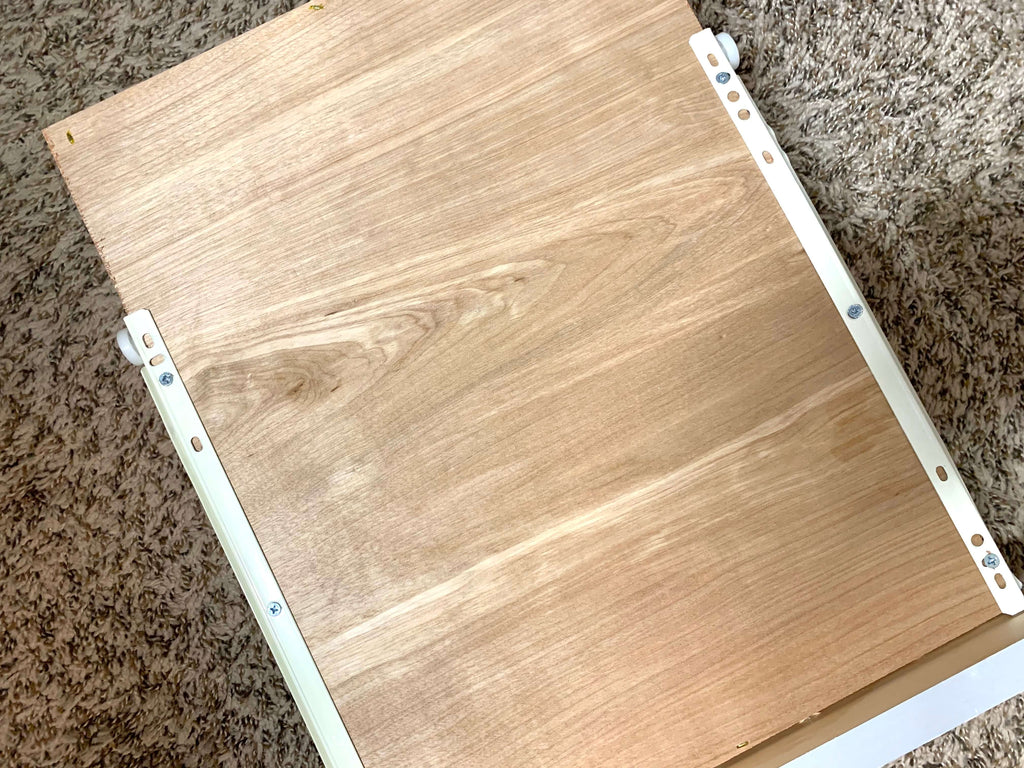
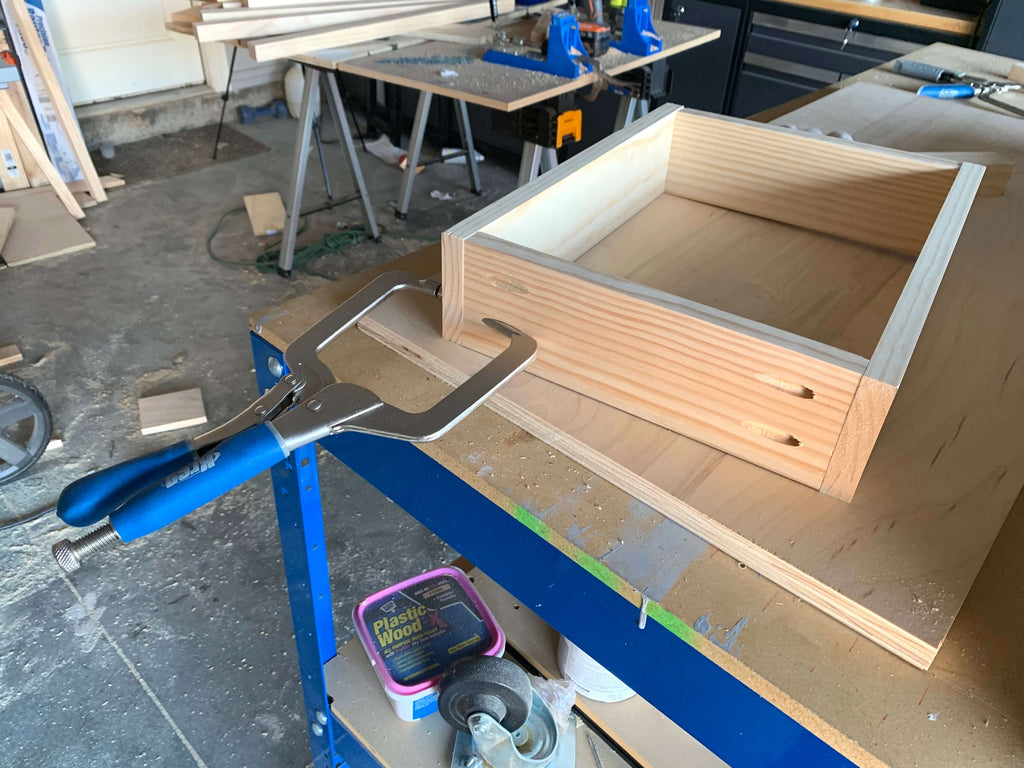 Once the drawer was assembled, I used my staple gun to attach the 1/4" drawer bottom to the assembled frame. After building the drawers, I attached the second piece of the drawer slide to the bottom of my drawers.
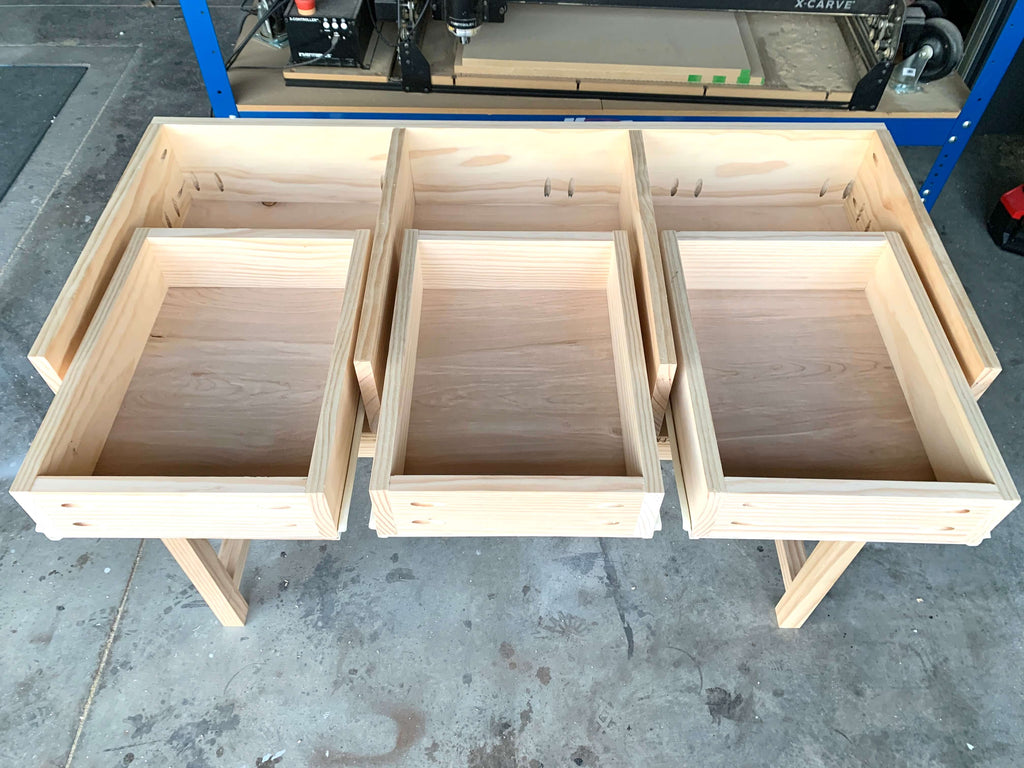
 I then slid the drawers right into the drawer slides that were already placed and now we having working drawers; the sweet smell of victory.
 Once the drawers were in place, I attached the top piece of the desk top to the remaining top using a countersink bit and wood screws and then set the desk top on top of the base to see how it would look.
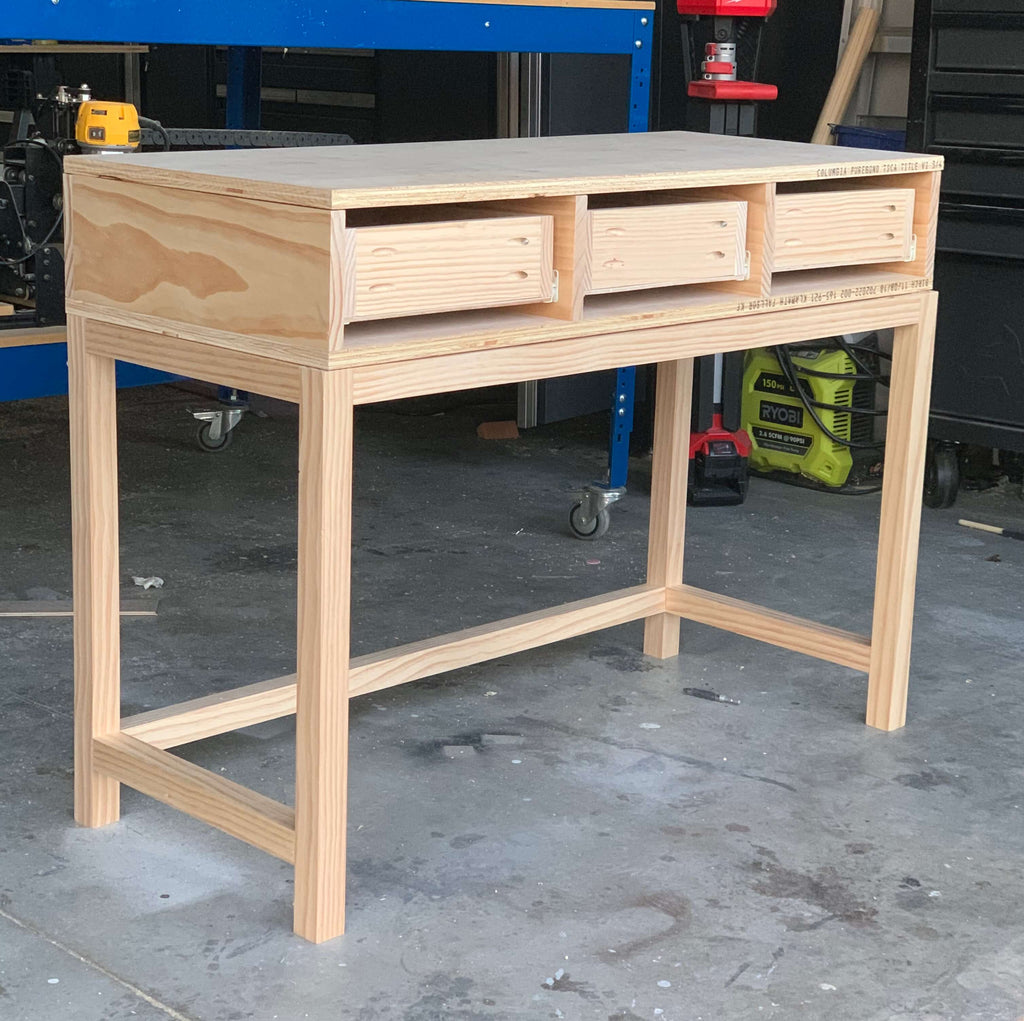 Don't you just love when a build starts to form? I know I do.
Step 5: Paint the Base
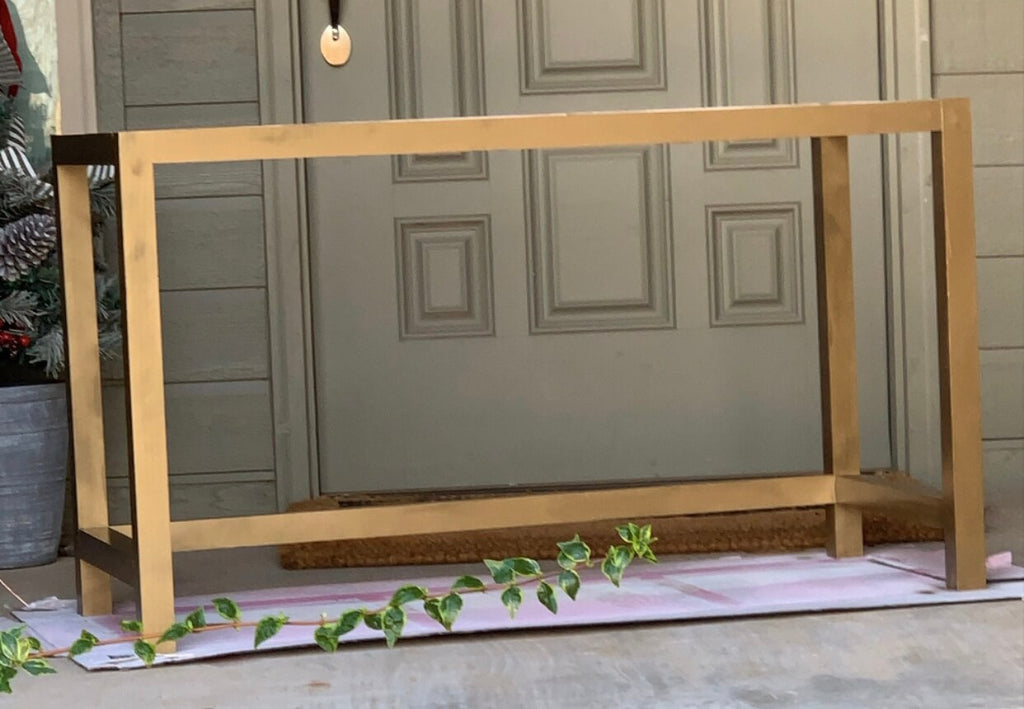
Since this is going to be a makeup vanity, I figured a gold finish would make it sleek and trendy. I first spray painted the base with two coats of white primer. Once that dried, I sprayed the base with two coats of gold metallic spray paint.
Step 6: Paint the DIY Vanity Desk Top
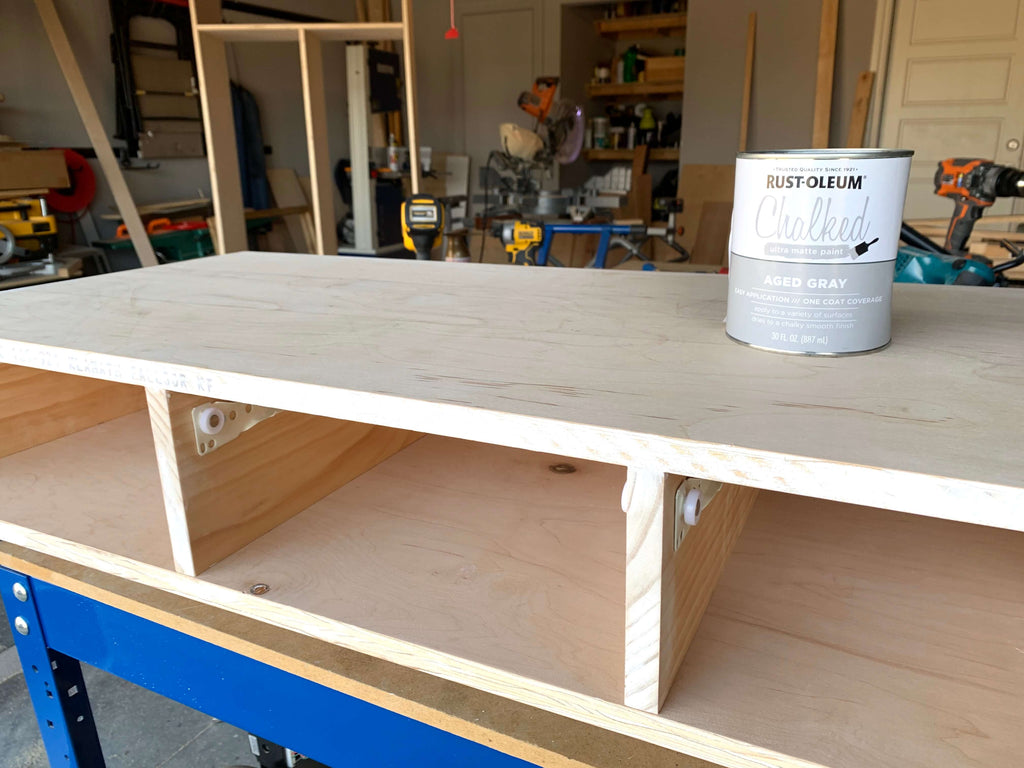
Next was the really fun part, painting the vanity desk top. Before I started painting, I prepped the desk for paint. I filled in the plywood edges with spackle to make sure I would have a smooth paint finish. After I applied the spackle, I sanded down the desk top and then painted the outside of the vanity desk top with Rustoleum grey chalk paint.
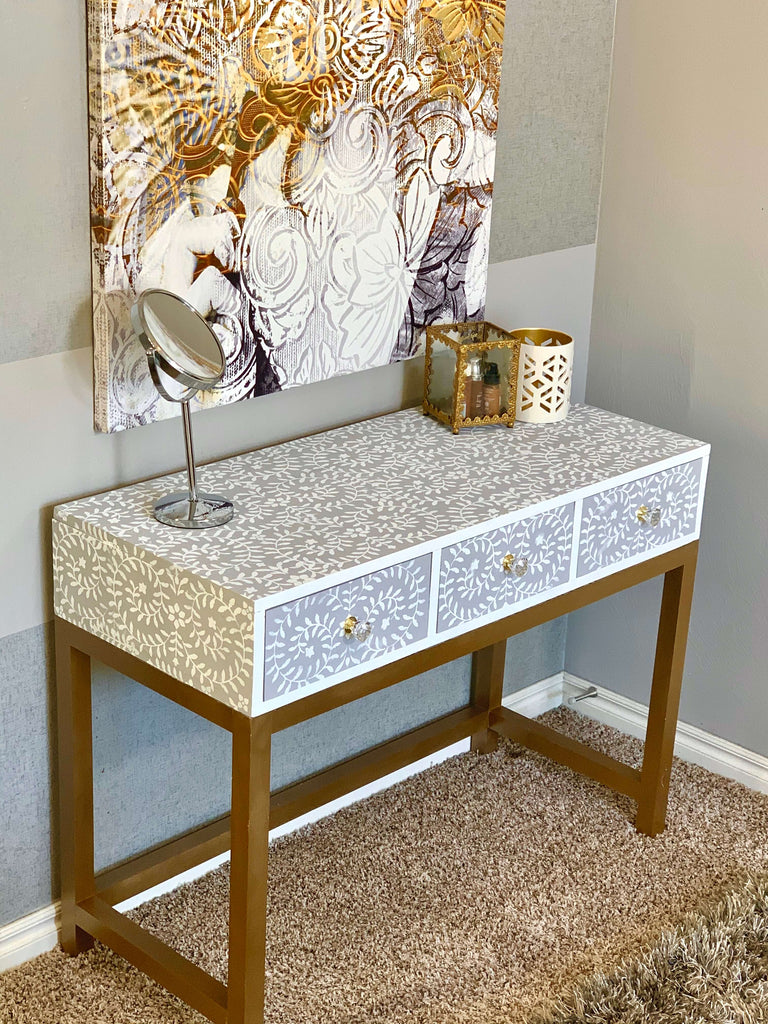
 I did two full coats to give it good coverage. Once that was dry, I started adding the Stencil. I was really excited to try this stencil out and I'm so glad my vision was able to come to life. I used the Priya Bone Inlay Stencil to create this design.
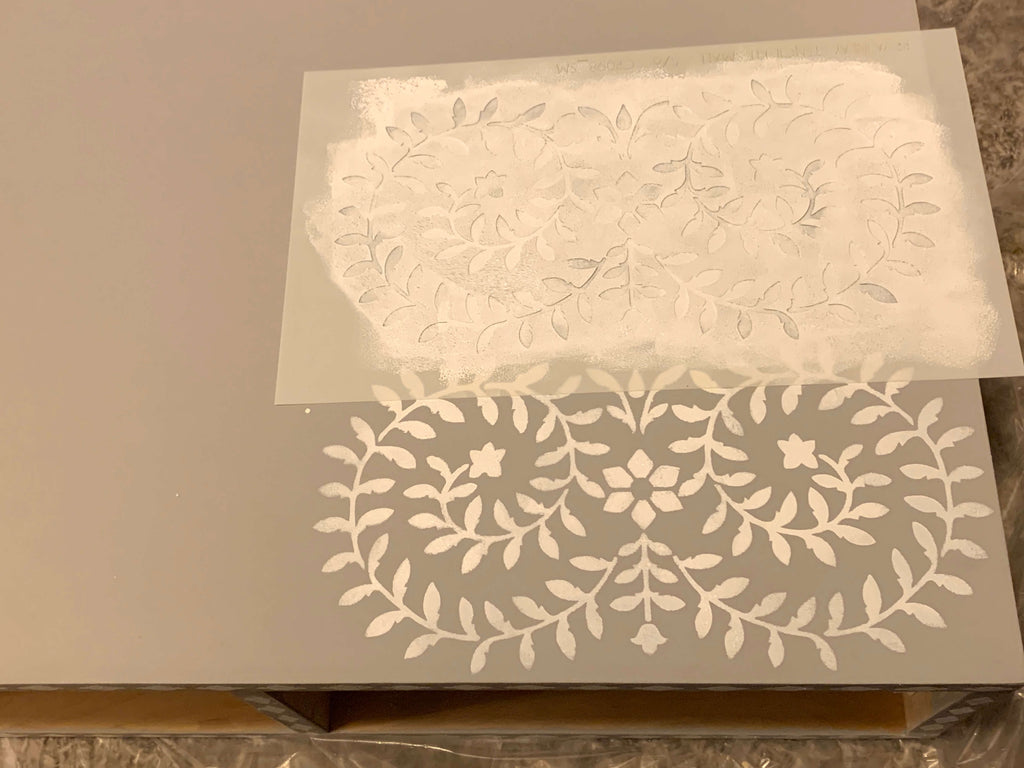 I used a roller brush to roll over the stencil to create this design. My tip would be to make sure you have only a little bit of paint on your roller when stenciling, it creates a cleaner look when you remove the stencil. I also used white chalked paint for the stencil design.
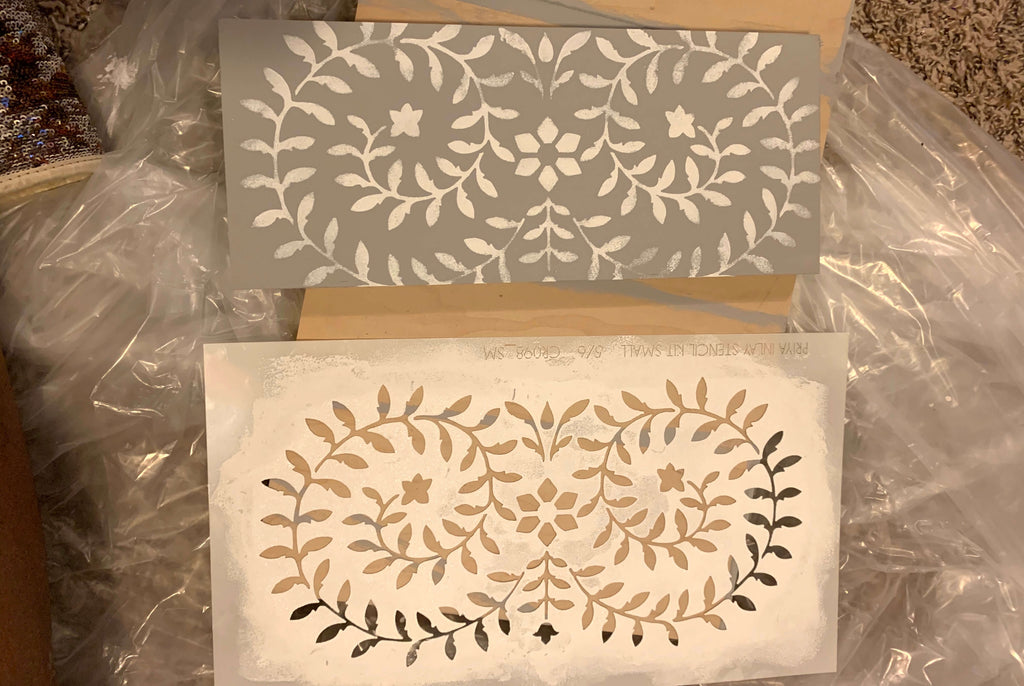 I went down the whole desk until I filled up the entire desk with the stencil. Once I finished the desk top, I applied the stencil to the three drawer fronts and that completed the desk top design.
Once the drawer fronts were dry, I sprayed the desk with a Chalked Clear Coat and then attached some fancy drawer knobs and the desk was complete. Let's take another look at my DIY Vanity Desk.

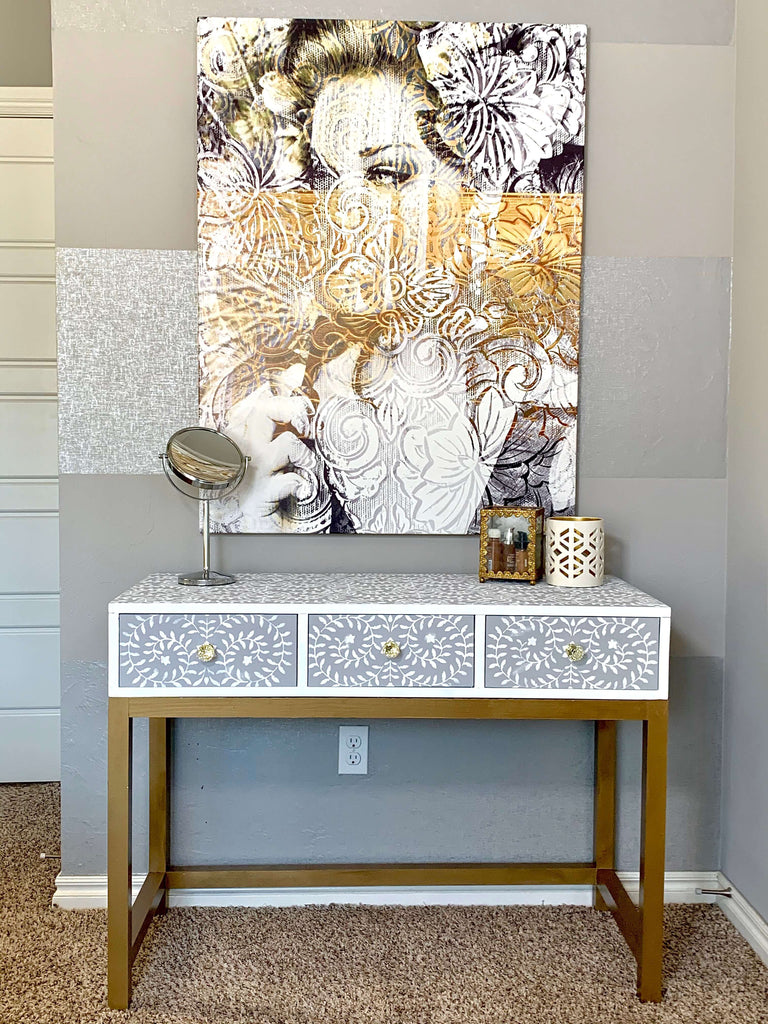 I couldn't be happier with how this vanity desk turned out and I hope that your desk is just as amazing.
 This stencil couldn't have been a better option to pull off this desk design. Head on over to Build Something to get the free plans, so you can make a desk like this one. I can't wait to see wha you guys come up with.
As always, thanks for reading guy, XOXO Ashley.